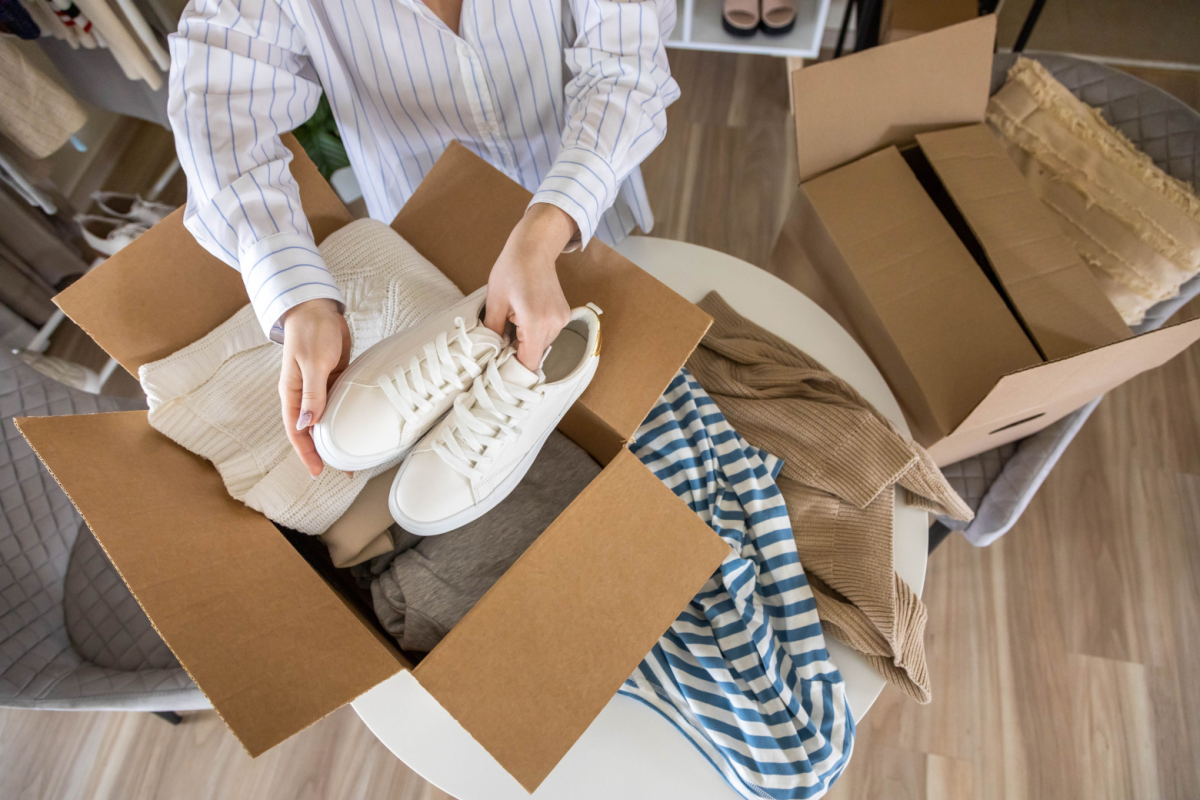
Moving feels like juggling dishes while riding a unicycle; it is chaotic, awkward, and somehow still expected to be graceful. Between boxes, paperwork, and saying your goodbyes, the thought of cleaning a shower or wiping down baseboards probably doesn’t make the priority list. But here’s the truth: cleanliness matters more than most realize when handing over the keys.
Whether you’re closing a chapter in a rental or prepping a house for its next owner, a deep clean sets the tone. You need to handle everything from forgotten ceiling fans to kitchen cabinets still clinging to oil splatter; every overlooked task could jeopardize your security deposit or make your conscience a little uneasy. That’s where a move-out cleaning service from Home Maid Better steps in.
Why You Should Deep Clean Your Old Home Before You Move Out
Deep cleaning isn’t just another box to check; it helps those moving in after you feel right at home. A solid scrub-down wipes the slate clean and protects your reputation, money, and peace of mind. That’s why we’ve broken down the most important reasons for booking professional cleaning services before you go.
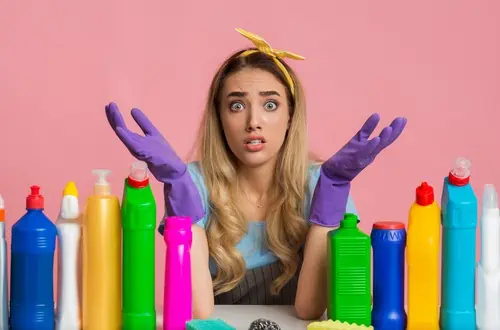
Protect Your Security Deposit
If you’ve been renting, you probably gave your landlord a chunk of change upfront. That deposit? It depends on the condition of your home at the time of the inspection. Dust in the closet, debris in the basement, water stains on the mirror, or grime in the grout, those little messes can turn into big deductions. A proper move-out cleaning can turn that dreaded walk-through into a breeze and get your deposit back where it belongs; in your pocket.
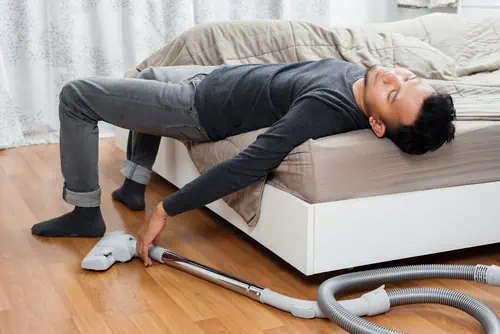
Stress Relief
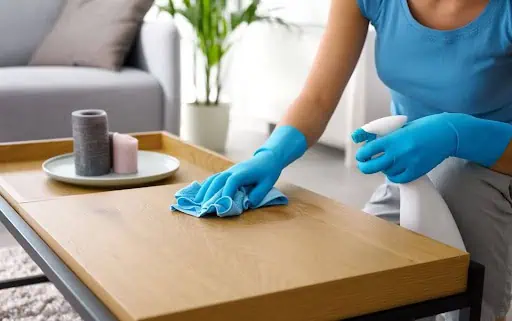
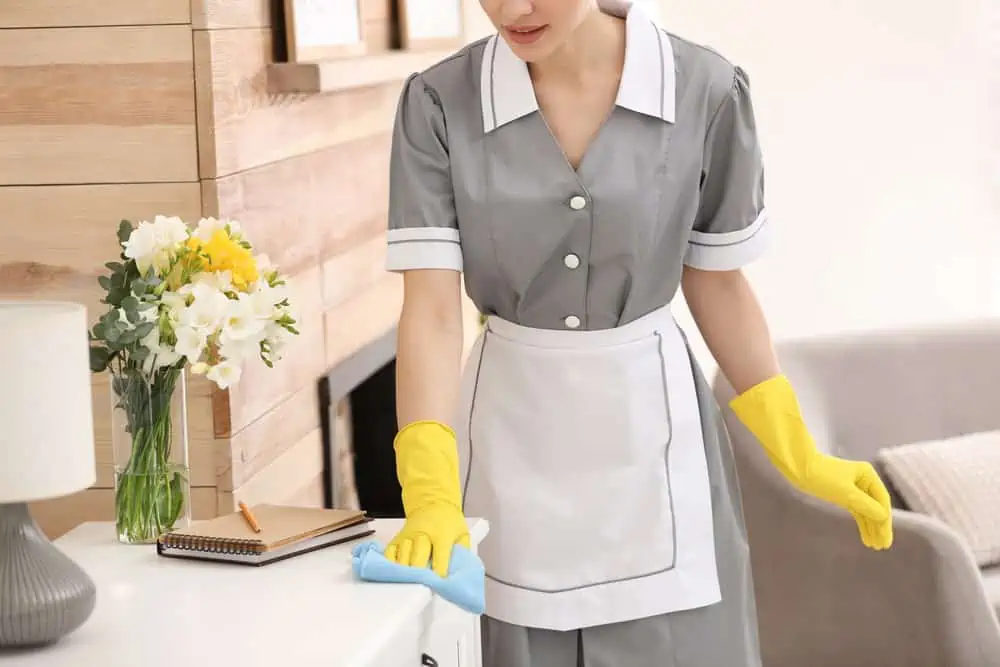
You already have a dozen tasks on your plate, ranging from canceling utilities to labeling boxes and making sure the movers arrive on time. Why add soap scum, wall scuffs, or cupboard spills to your mental load? Deep cleaning your property solo means time, supplies, and a strong stomach for bleach that could be spent elsewhere. Calling in moving house cleaners means crossing “deep clean the oven” off your checklist and breathing a little easier.
Cut Down on the Stress
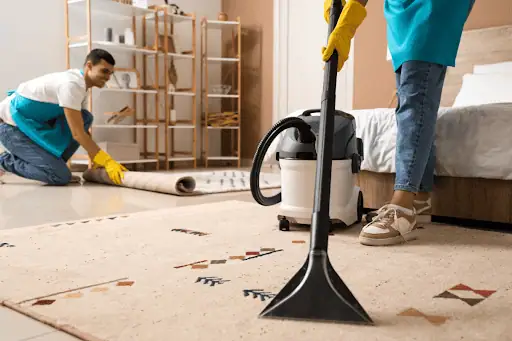
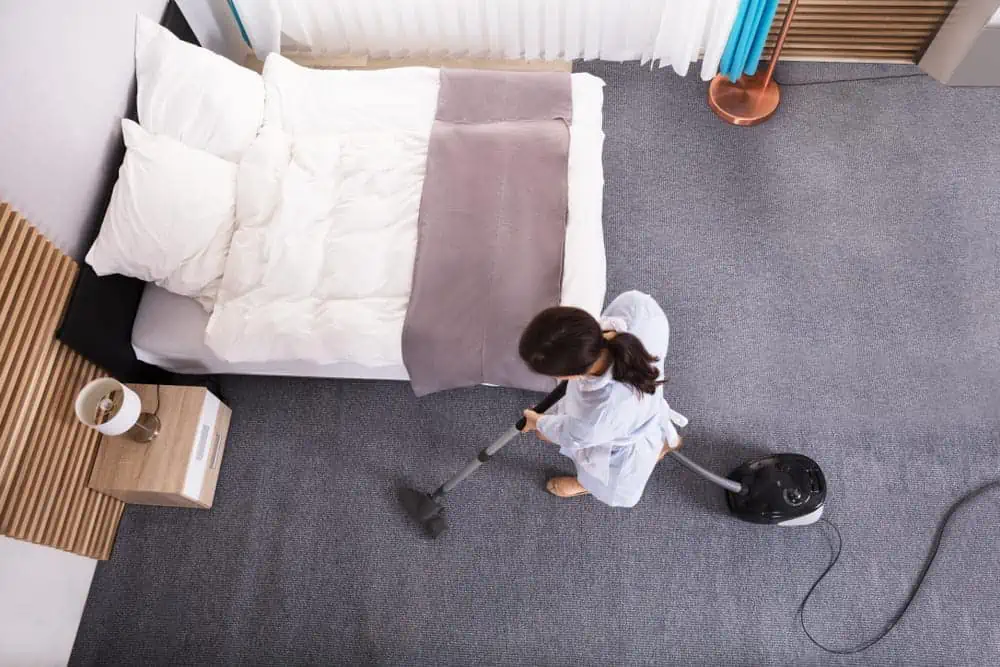
Nothing spikes your blood pressure like a last-minute inspection. You’re packing, coordinating movers, and suddenly, you’re brushing tile grout with a toothbrush. Skip the panic. Let professionals sweep, mop, and vacuum while you focus on the big picture.
Do Right By the Future Tenants
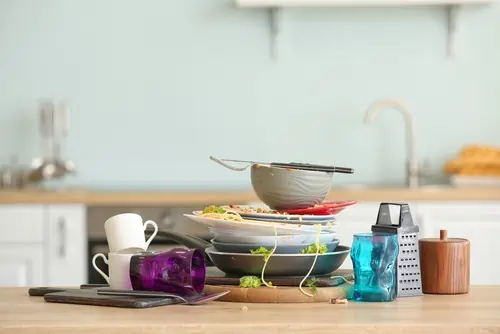
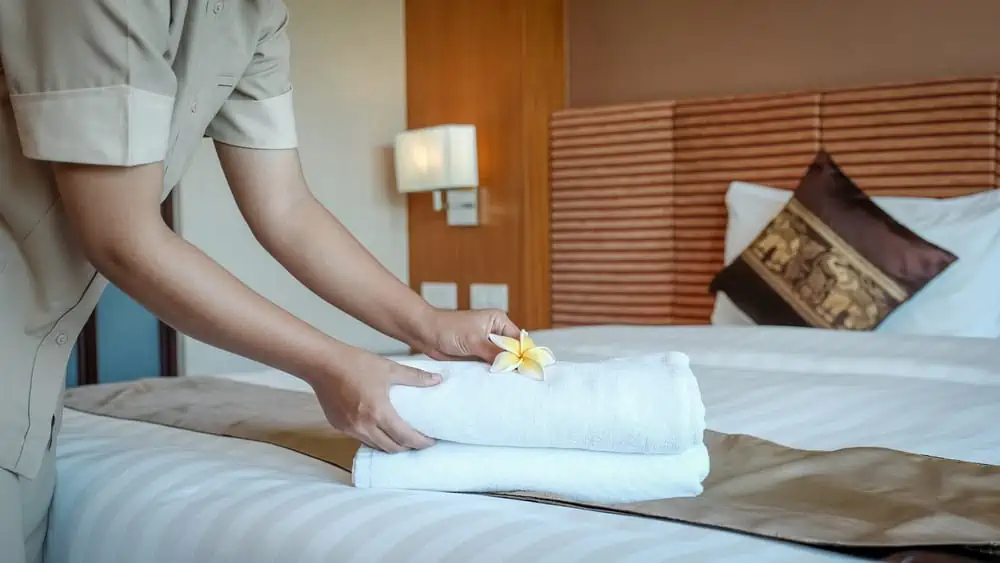
Think of it as good karma. That sparkling sink, cleared-out fridge, and stainless steel stove? They’re more than just clean surfaces — they’re a welcome mat for the next tenant. Moving and cleaning services help keep the cycle going strong, so no one’s stuck scrubbing a stranger’s leftover stains in the bathroom or picking hair out of a shower drain.
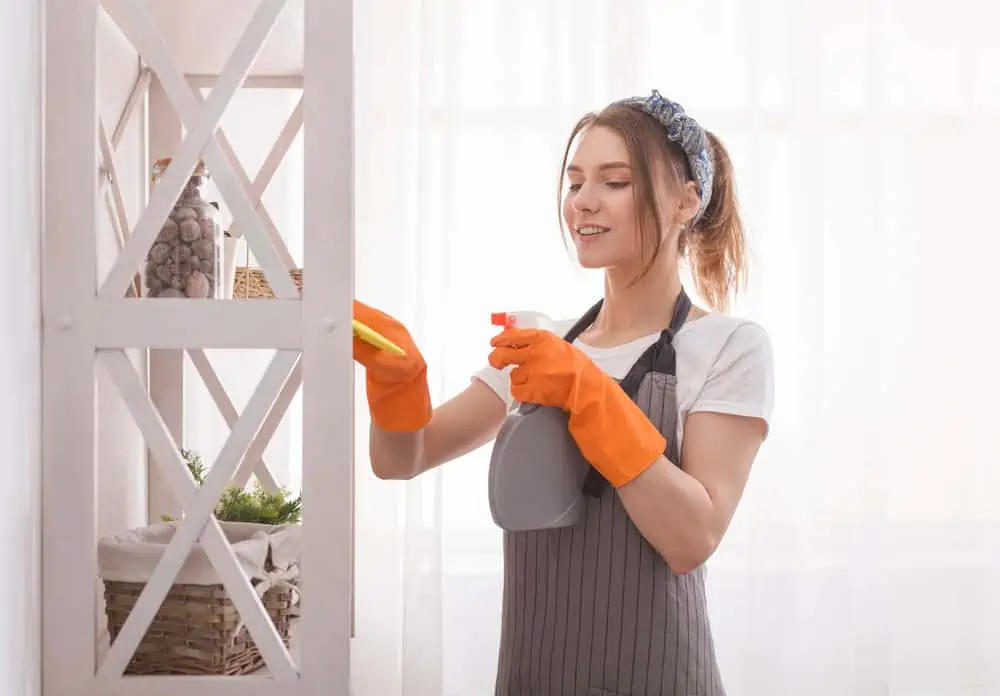
Why Trust Home Maid Better With Your Move-Out Cleaning Needs
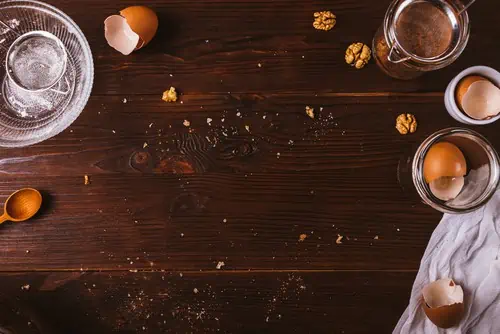
We’ve seen it all, from paint splatters on the baseboard, forgotten food in the dishwasher, mold creeping behind cabinetry, and enough broom-swept debris to fill a landfill. Our moving clean-out services were built with hometown pride and practical know-how. Whether it’s an empty house cleaning service near you or a full-blown renovation aftermath, we’re here to remove the dirt, the waste, and the worry. We bring environmentally friendly products, microfiber magic, and a cleaner’s intuition from floor to ceiling fan.
Get Your Free Quote & Book Your Next Move-Out Service Today
If you’re staring down your lease’s final days or prepping a home for listing photos, it’s time to walk out with your head held high. Home Maid Better delivers professional cleaning services for moving out that hit every mark. Whether it’s dirt tracked into the bedroom, water rings around the bathtub, or that mystery stain on the wood floor, we’ve got it covered. You’ll get peace of mind and the kind of polish your landlord will notice.
Our move-in and move-out cleaning services go beyond housekeeping. They’re designed to revive your space, eliminate the mess, and pass every broom-sweeping inspection. From scrubbing the sink to detailing the mirror, brushing tile grout, to clearing out cabinetry, we take on every cleaning task so you can focus on moving forward. Ready for a fresh start and a clean break? Request your quote today and start cleaning the smart way with Home Maid Better.