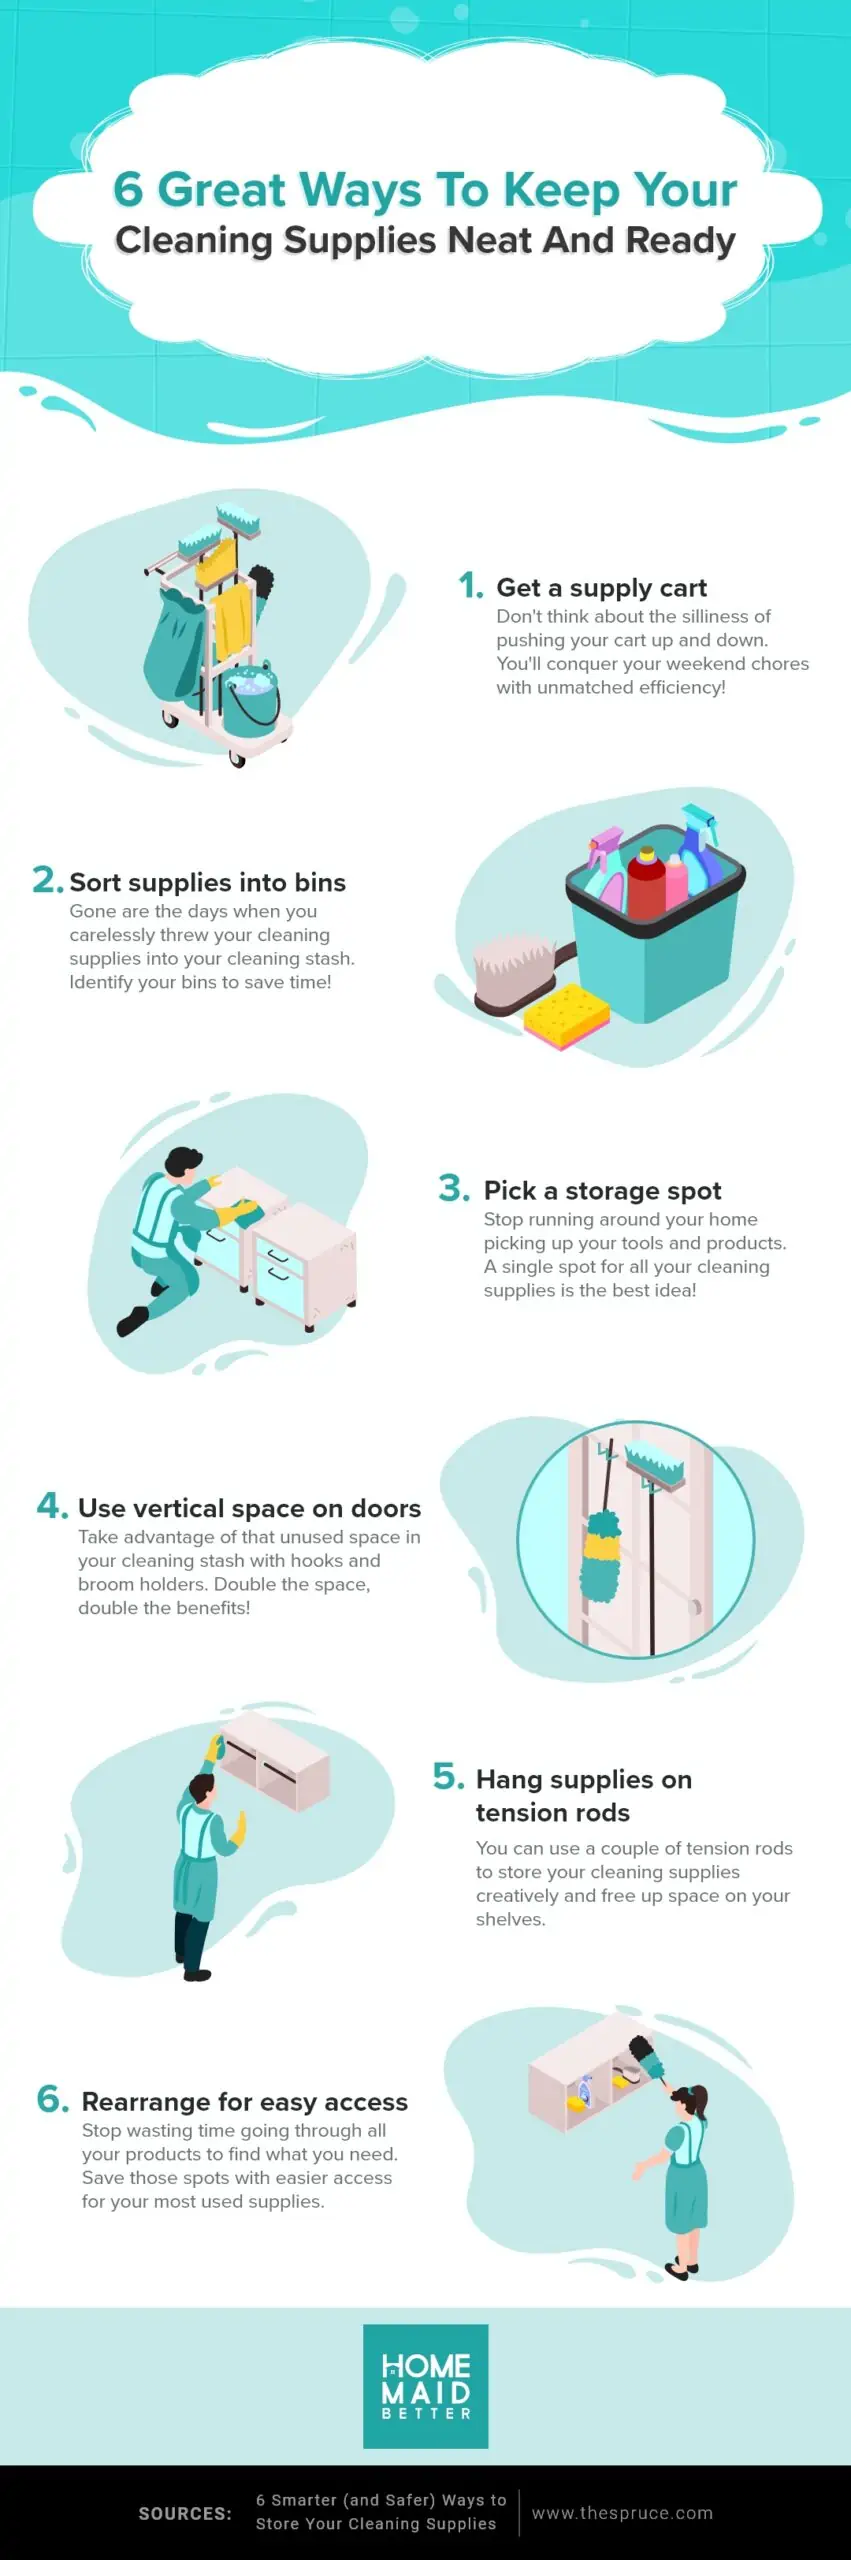
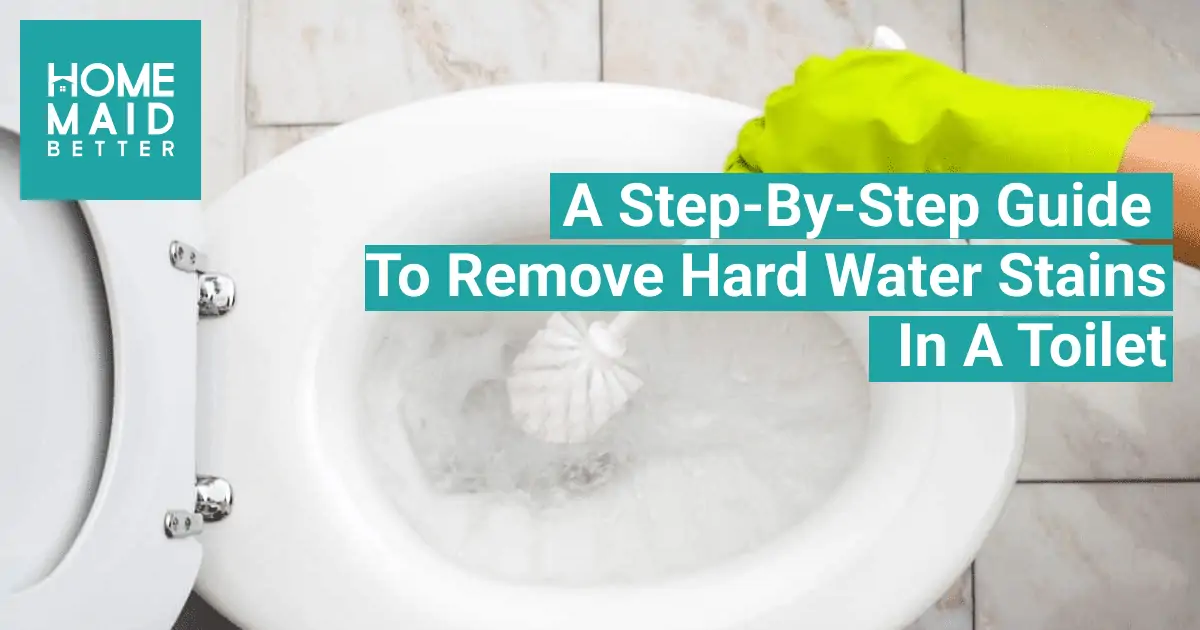

If those stains in the toilet bowl don’t go away after scrubbing them, you are likely dealing with hardened mineral deposits.
Hard water has a high concentration of minerals—like calcium and magnesium—that leave stains on your toilet and get even more stuck the longer they stay there.
So, let’s work on removing those stubborn stains! Your toilet will go back to being shiny and white soon enough.
The vinegar and baking soda recipe
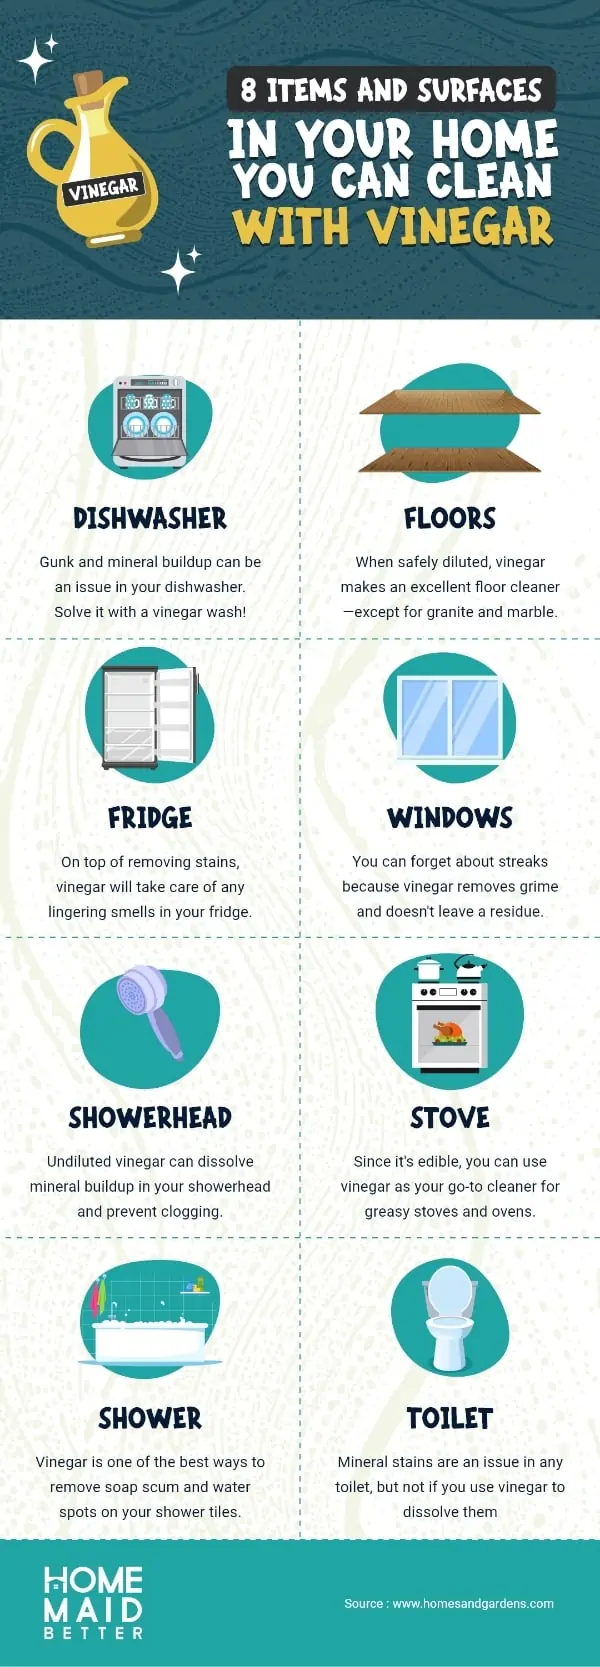
White vinegar and baking soda are both household items commonly used for cleaning. With this recipe, you won’t have to use harsh chemicals to clean your toilet (and you will still get good results!).
Step 1: Pour the vinegar
First, grab a cup of vinegar, pour it inside the toilet bowl, and swish it with a toilet brush. Then, let the mix sit for a minute. The acidic nature of vinegar will start working on dissolving the mineral deposits.
Step 2: Pour the baking soda
Add a cup of baking soda into the toilet bowl and pour another cup (or two) of vinegar. When baking soda and vinegar mix, there’s a chemical reaction, so don’t be alarmed when you notice the mixture start to fizz. Let the solution rest for ten minutes.
Step 3: Get brushing
Now, start swishing the solution around the toilet (especially on stubborn stains). The vinegar and baking soda should loosen up the grime. Remember not to flush the toilet! You’re not done yet.
Step 4: Wait and rinse
Let the solution sit for half an hour. Keep swishing the mix a couple of times (this way, you can make sure the stains disappear!).
If some hard water stains remain, use your toilet brush to scrub them. Once the time’s up and the stains are gone, flush the toilet to rinse. Your toilet bowl should be free of water stains now.
Remove stubborn stains: the pumice stone method
If some of the stains refuse to go, there is another method you can try. However, this trick is riskier than the water and vinegar recipe. So, don’t try this too often, or it could damage the toilet.
All this method requires is a pumice stone and some elbow grease. Grab your rubber gloves and get ready to scrub!
- First, wet the stone and the area you will scrub (keep them both wet as you work).
- Scrub in a circular motion and apply pressure to the stained areas—you will notice a gray paste starts to form. Don’t worry! The paste is the residue from the pumice stone and the water mixed up. In fact, you can use it! Rub the paste on the stains until the mineral buildup is gone, then rinse.
Prevent stains in your toilet with regular cleaning
Since the stains come from mineral buildup, the best way to prevent them will be to clean regularly. Try scrubbing your toilet once a week. This way, you can avoid the minerals hardening.
However, we understand not everyone has the time to be on top of their house. We have you covered!
At Home Maid Better, we deliver top-quality services in Oklahoma City. Let our skilled professionals take care of your cleaning routine while you focus on more important things! Get your free quote today.